
Audio Tips For Camera Ops
First and foremost, ALWAYS try and hire an audio person. There are too many good reasons why it's necessary and important to hire someone to pay special attention to recording quality audio. Ok... now that's over, here are some practical tips if you have to record audio yourself as a camera operator.
Tip 1: Fixing The !*%^!# Shock Mount That
Doesn't Fit Shotgun Microphones

WHY?! Why did every camera company design shock mounts that are too big for the thing they're intended for? I don't understand it, but I've come up with a couple good tricks to get around it without taping your mics:
- Pick-and-pluck foam. If you've ever bought a pelican case, you probably have some scraps or pieces laying around. Grab a small piece and wrap it around your mic before putting into the shock mount... and presto! Reusable, disposable and pretty darn convenient without hurting your microphone.


- Self adhesive bandage. It's in every drug store and it sticks to itself without any residue. The only downside is you have to wrap the mic, but once you wrap it, it'll stay on the mic and won't slip since it's got a grippy surface.


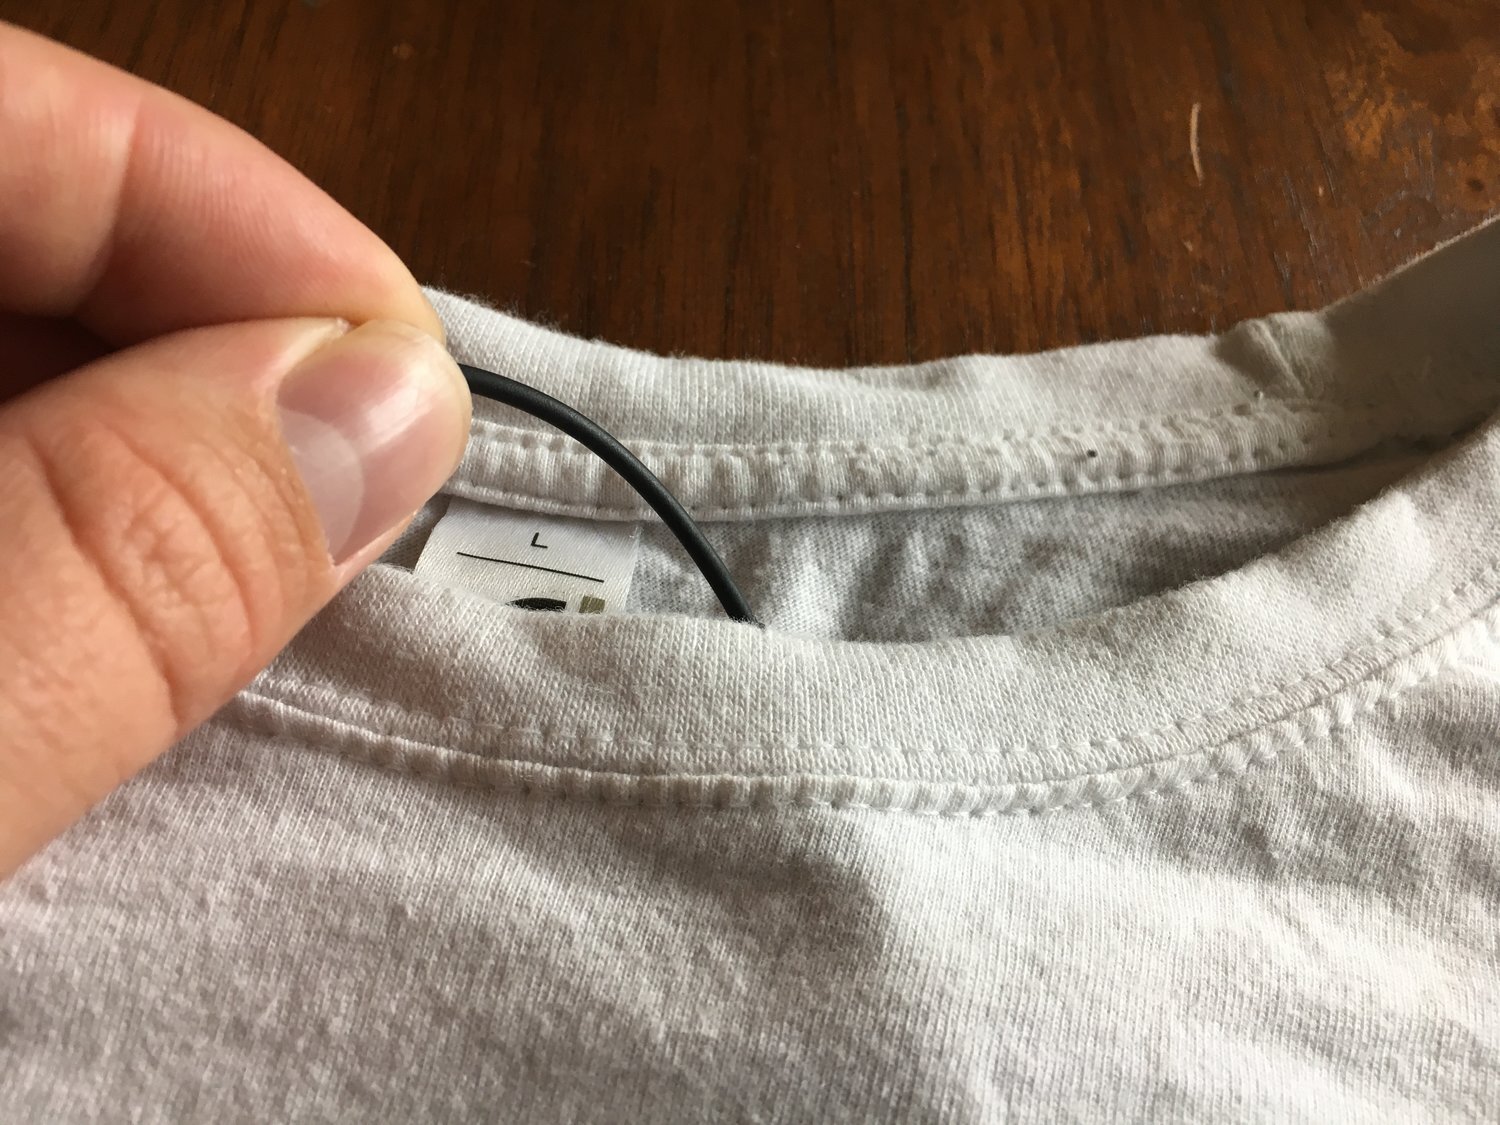
Tip 2: Proper Lavalier Mic Clipping

Ok, I may be a little OCD, but nothing bugs me more than poor lav placement. I'm a big fan of hiding mics, but if it's not hidden, it better look good. Obviously there are different garments to mic and situations that are tougher, but generally here's how you do it:

Step 1. Place the mic into the flat side of your mic clip. Note that not all mic clips are the same, so place the mic in a similar place on your clip.

Step 2. Clamp the cable in between the clamp (not on it) so that there is a loop below the capsule. This is key to keeping things looking tidy.

Step 3. If your clip has a point for tension relief feel free to use it so your mic doesn't get pulled by cable snags. This is not a dire step, but it is definitely helpful. Tape would be your substitute to this option on the inside of the garment you are miking.
Step 4. Respectfully string your cable down the garment you are miking. This step is not optional. Get in there and keep it tidy! This is the step that some people skip when it's uncomfortable, but think about it this way: it's awkward but sound mixers have to do it all the time. Just be respectful and confident and I promise you'll make it through.

If you are miking a button up, slide the cable between the buttons at about the sternum on the chest.

Step 5. Clip the mic onto the collar, or edge of the garment you are miking and sandwich the cable under the clip so it keeps the loop small. Lavalier mics are usually omnidirectional so if it faces sideways, don't worry, you'll still hear them fine.

If you are miking a button up, clip the mic with the cord sandwiched under the clip with the mic facing up towards the mouth.

Step 6. Tidy up the leftover cable around the transmitter. I like to make a loop and sandwich it in the transmitter clip. After that, you're good to put the transmitter on a belt, waistband, pocket, etc.
Tip 3: Where to Point the Shotgun Mic
Your microphone is NOT a solution to a bad sounding room. Where you point your mic is going to determine what your talent sounds like, not how loud the room will be. To get the best sound, set up in a quiet space and place your shotgun mic above your talent. Now there isn't just one "right place" to point your mic, but let me explain: Your voice has lows, mids and highs and they all come from slightly different places. The lower frequency sounds come from the resonance of your chest cavity and thus, if your talent needs more presence, you can point your microphone lower towards the throat. The high frequency sounds come from your tongue and teeth. S's and t's come straight from your mouth so if your talent mumbles, you could probably stand to try and capture more sibilants by pointing your mic more up. Mid tones are tricky because they aren't as easy to identify. Usually mids come from your vocal cords and your nasal cavity. Mids are the balance of your voice. All in all, finding a "sweet spot" is subjective and can change, but if you know where the sounds are coming from, you can usually find a good middle ground.
Tip 4: If Things Are Too Complicated, Hire Audio
Alright, I just got to say it again: try your best to hire a sound mixer. If things are too complex and need complicated solutions, find the budget for audio. Practice the techniques and tips as you need them, but all in all, a professional sound mixer will be able to help you with better sounding solutions while allowing you to focus on making things look good.